
How to film in The Sims 4 without screen capture: full guide
How to record clips directly in The Sims 4, improve recording quality, and prepare footage for editing.
Machinima in The Sims 4 is simple, even if you have never worked with video recording before. This article explains how to record clips directly in the game, improve recording quality, and get footage that is ready for editing.
If you are not planning to use ReShade and do not want to worry about hiding the interface, the in-game camera is a good choice.
Video quality settings
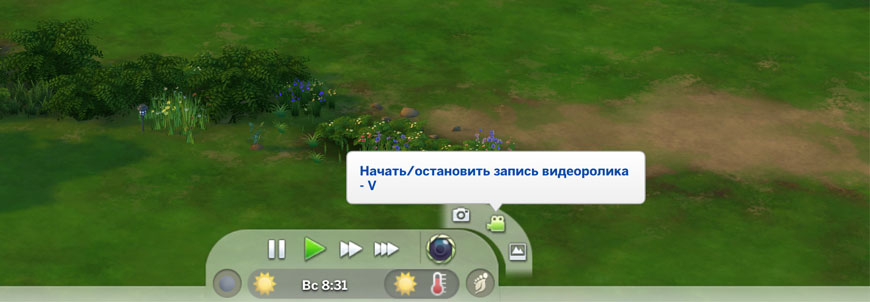
Recording a clip is easy: press V or use the button at the bottom of the screen. A yellow border will appear around the screen, which means recording has started.
But when you open the clip, the quality may disappoint you. The video can look blurry and details may be hard to see. By default, the game compresses video heavily. You can work around this.
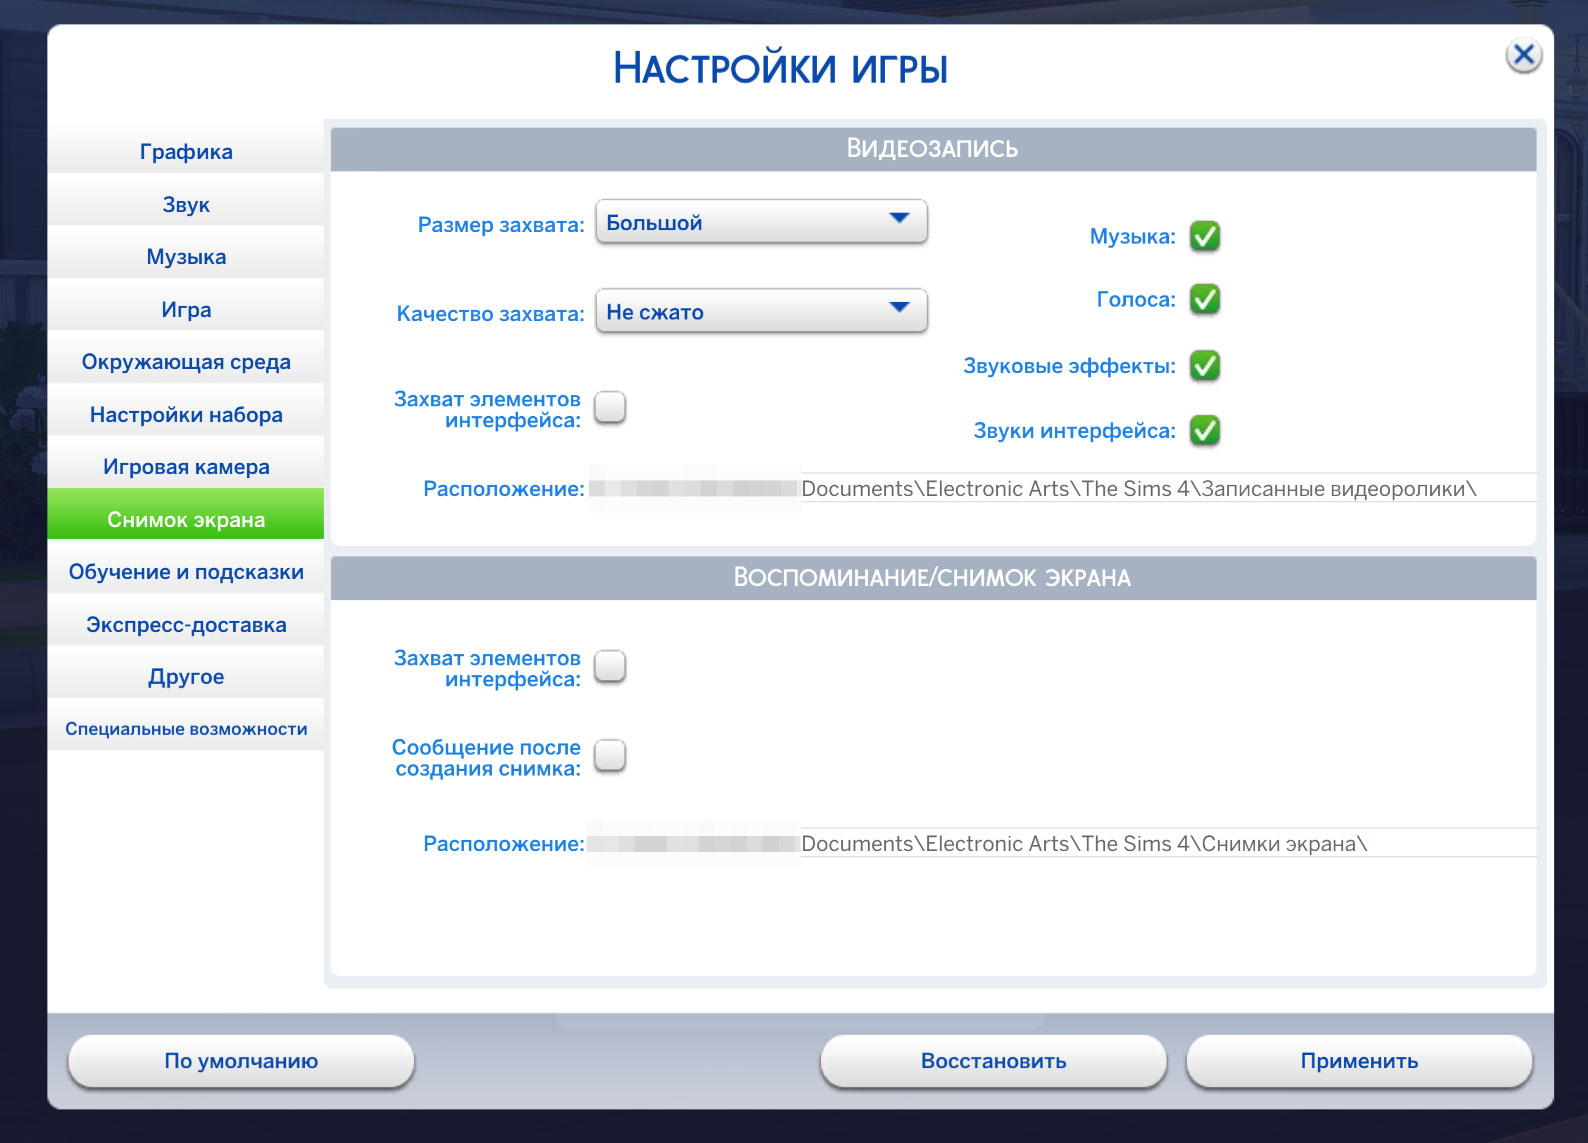
Open the game and go to Options -> Screen Capture.
Set:
- Capture size: Large
- Capture quality: Uncompressed
Turn off sound if it is enabled.
But that is not all. Now you need to edit VideoRecording.ini.
The file is located in the game installation folder:
\The Sims 4\Game\Bin\res\VideoRecording.ini
Open it in a text editor such as Notepad or Notepad++ and edit it. It should look roughly like this:
[VideoRecording]
LowQuality = video:vp6, audio:adpcm, fps:30.0, bitrate:1000
MediumQuality = video:vp6, audio:adpcm, fps:30.0, bitrate:2000
HighQuality = video:vp6, audio:adpcm, fps:30.0, bitrate:4000
MaxQuality = video:rgb24, audio:pcm, fps:30.0, bitrate:6000
Small = 1920, 0
Medium = 1920, 0
Large = 1920, 0
The important line is MaxQuality, because in the game we selected Large - Uncompressed.
It is better to use 30 fps, because it is more convenient for later editing.
How to start recording in the game
- Press
Vto start recording. - Press
Vagain to stop recording.
In the game, recording is also controlled from the bottom of the screen.
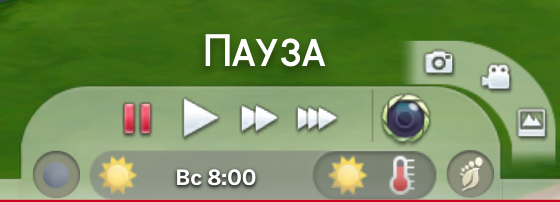
The camera icon lights up when recording starts. Click the icon to stop recording.
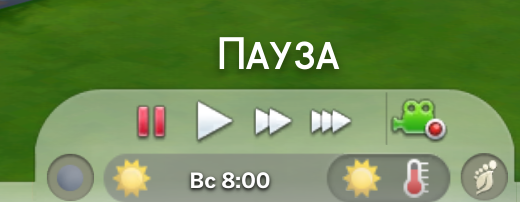
The finished clip will be saved in Documents, roughly here:
\Documents\Electronic Arts\The Sims 4\Recorded Videos
Camera mode (TAB)
Press TAB to enable the free camera.
Controls:
W / A / S / D- movementQ / E- up / down- Mouse wheel - zoom
This mode is useful for filming moving scenes without the interface.
Camera rails
The game also has a rail mode, where the camera moves smoothly from point to point.
Hotkeys:
CTRL + number from 5 to 9- save a camera positionNumbers from 5 to 9- smoothly move to a saved camera positionSHIFT + number from 5 to 9- jump instantly to a saved camera positionAlt + numbers from 5 to 9- delete a saved camera position
How to transcode .avi for editing
Uncompressed .avi is heavy and may not open in an editor. It also slows down later rendering.
It is better to transcode these clips to .mp4 and delete the originals afterward to free disk space.
Recommended programs:
- Shutter Encoder - free
- HandBrake - free
Settings:
- Format:
.mp4 - Codec:
H.264 - Quality: medium or
RF 18-20without visible loss
Where to edit
After filming, you will need to edit the clips and add sound. There are many video editors now, so choose whichever suits you:
- Shotcut - simple and free
- DaVinci Resolve - powerful, with a free version available
- Vegas Pro, Adobe Premiere Pro - paid professional editors