
How to make animations in Sims 2
A detailed process for creating animations in The Sims 2: Blender, Milkshape, SimPE, and a pose box.
In this article we will go through the process of creating animations in Sims 2.
Programs for creating Sims 2 animations
- Blender 2.8 or newer. If you are more comfortable with Blender 2.79 or older, you can use it too, but you will need a few extra steps and still need version 2.8.
- Retarget Addon
- Blender Source Tools (it may already be included in Blender by default; I did not download it separately)
- Sims 2 rigs by Mortia, with a few fixes from me and the base moved to an older version:
- For 2.8+: with modifiers and without modifiers.
- For 2.79 and older.
- SimPE.
- BaseBox (I cannot find the author or the original link).
- Animesh Exporter for Milkshape by Wes.
- Body Animation Base Meshes by Dr Pixel.
Instructions for creating Sims 2 animations
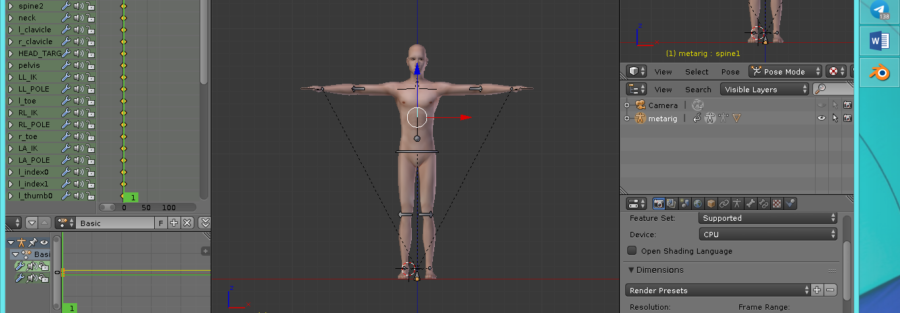
- Open the Blender file for the version you need. I will demonstrate with 2.79. You will see the rig and the Sim, and this is where you create an animation or a pose. There are many constraints and IK controls, so it is not too difficult to understand. However, there are a few important notes:
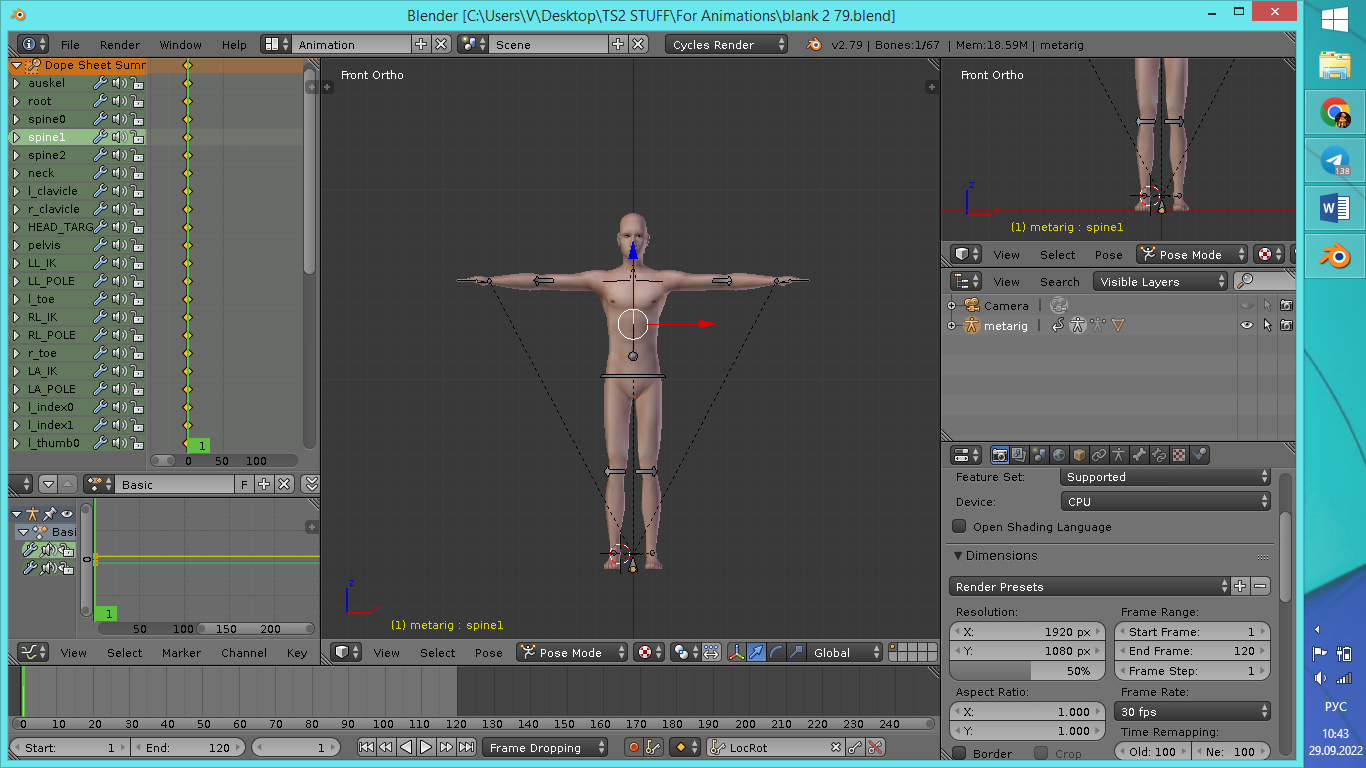
- Animesh Exporter can behave very roughly around the legs and torso. If you make a wide animation or strong rotations, the final result can be very bad, so work carefully.
- Facial animations cannot be made this way. Sim faces work through morphs and shape keys, meaning the mesh changes directly through predefined variations ~~and the keys there are very ahem interesting, which is why the faces can look strange~~.
- Suppose the pose or animation is finished.
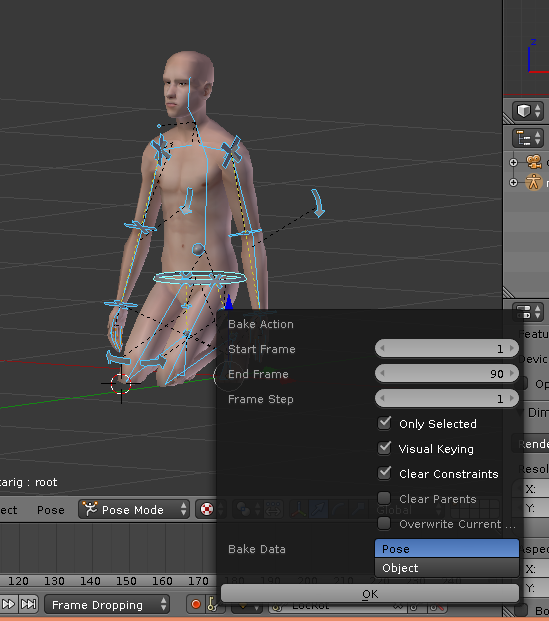
- 2.79: If you changed modifiers or bone constraints, bake the animation now. Press Alt+H, select all bones, find Pose -> Animation -> Bake Action, and choose the settings shown below. Start Frame and End Frame are the animation range.
- 2.8: Bake the animation. Press Alt+H, select all bones, find Pose -> Animation -> Bake Action, and choose the settings shown below. Start Frame and End Frame are the animation range.
-
2.79: Save the file under a new name.
-
2.79: Open Blender 2.8 and the rig file for transfer. If you baked the animation in step 2, choose the rig without modifiers. Otherwise, choose the rig with modifiers.
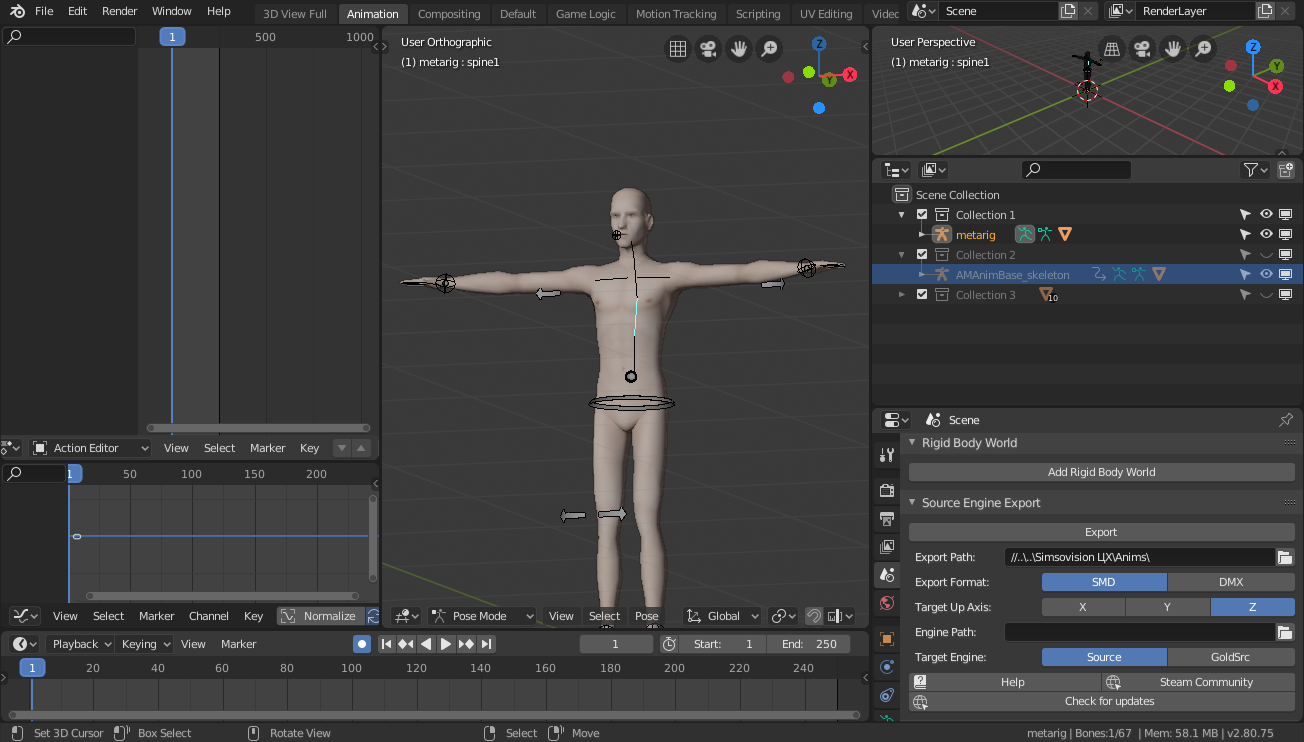
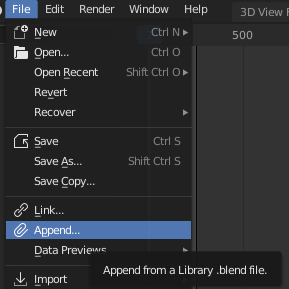
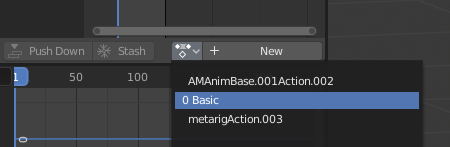
- 2.79: Append the animation file from your saved file into the current one. Then select the animation in the Action Editor inside the Dope Sheet. Bake the animation the same way if you have not done it yet.

- The result should look roughly like this:
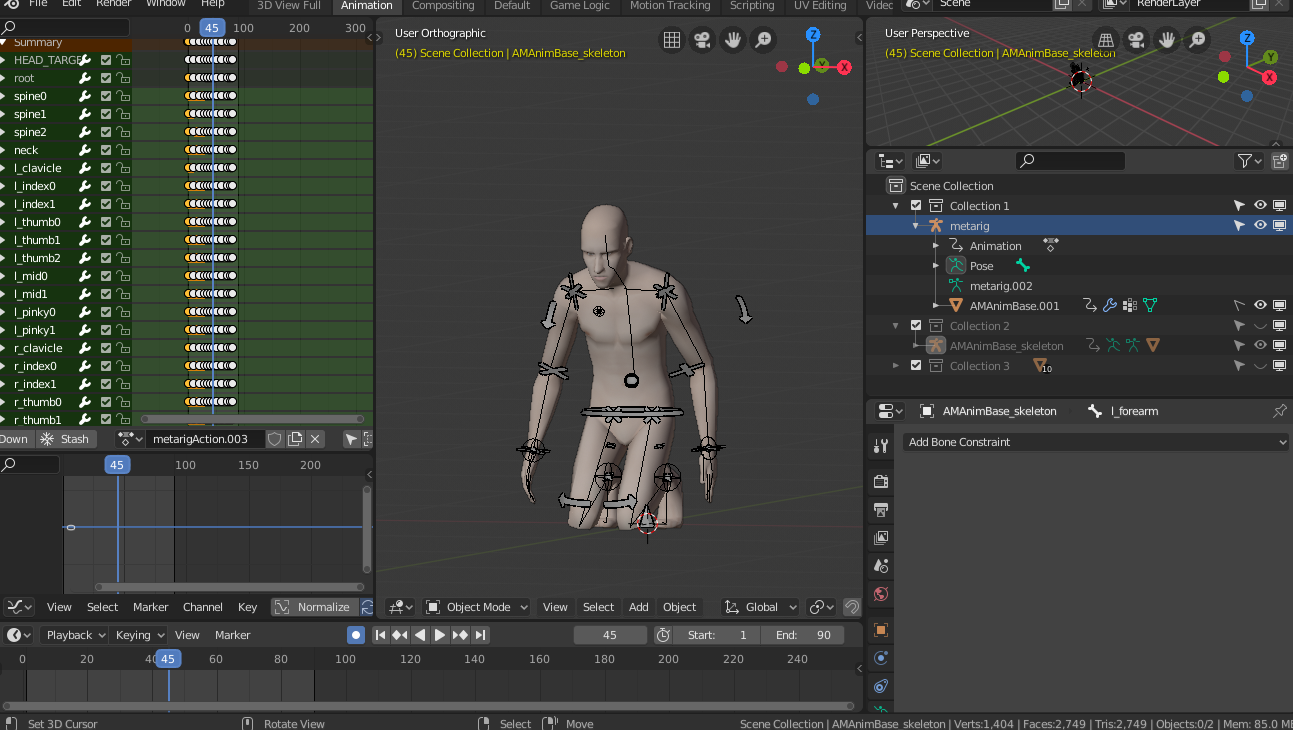
- Disable the meta-rig display and enable the base rig display in the Outliner. Select it and check that the base rig plays the same movement.
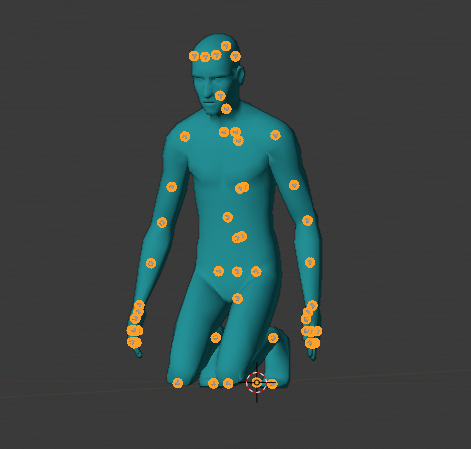
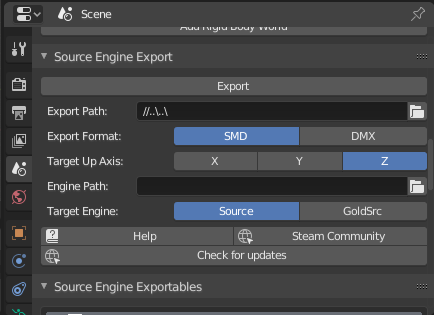
- Go to the Context tab and find Source Engine Export. Set the save path for the animation file and choose the
smdformat. Click Export and set the file name.
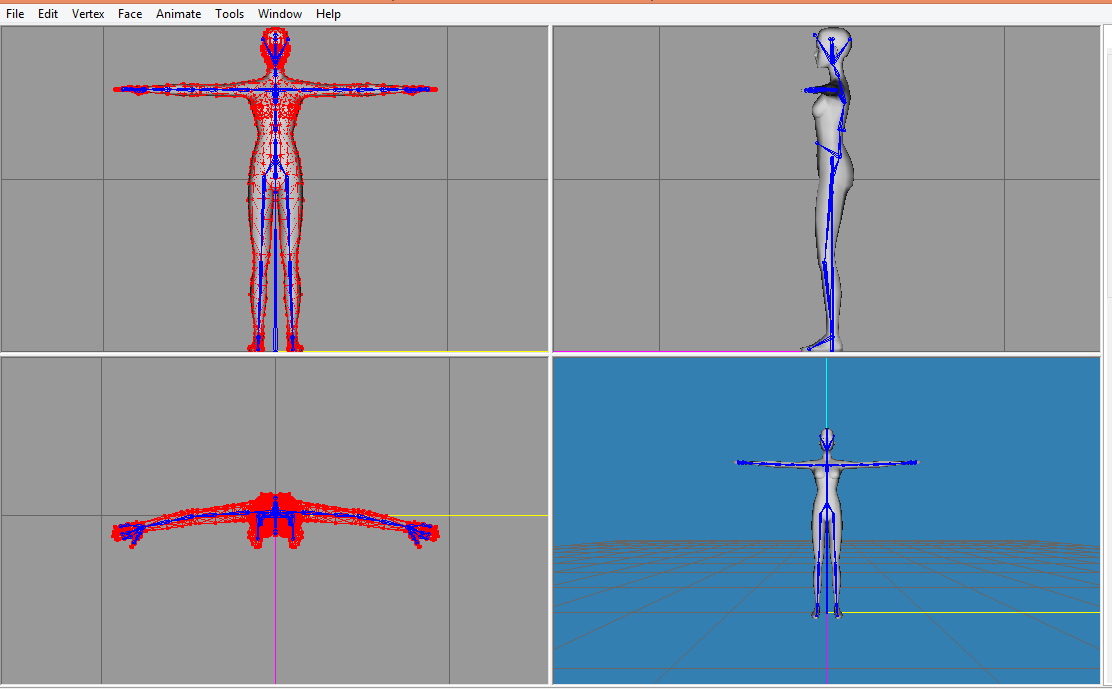
- Open the adult body mesh file in Milkshape.
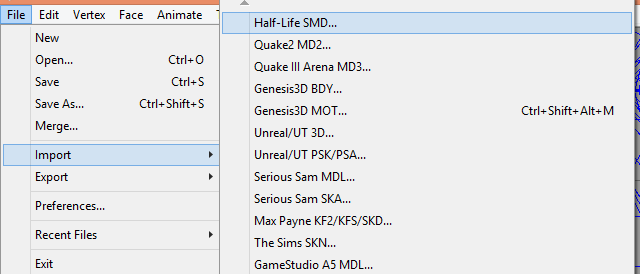
- Import the animation file. In the first pop-up window, select only Skeleton. In the second one, choose No.
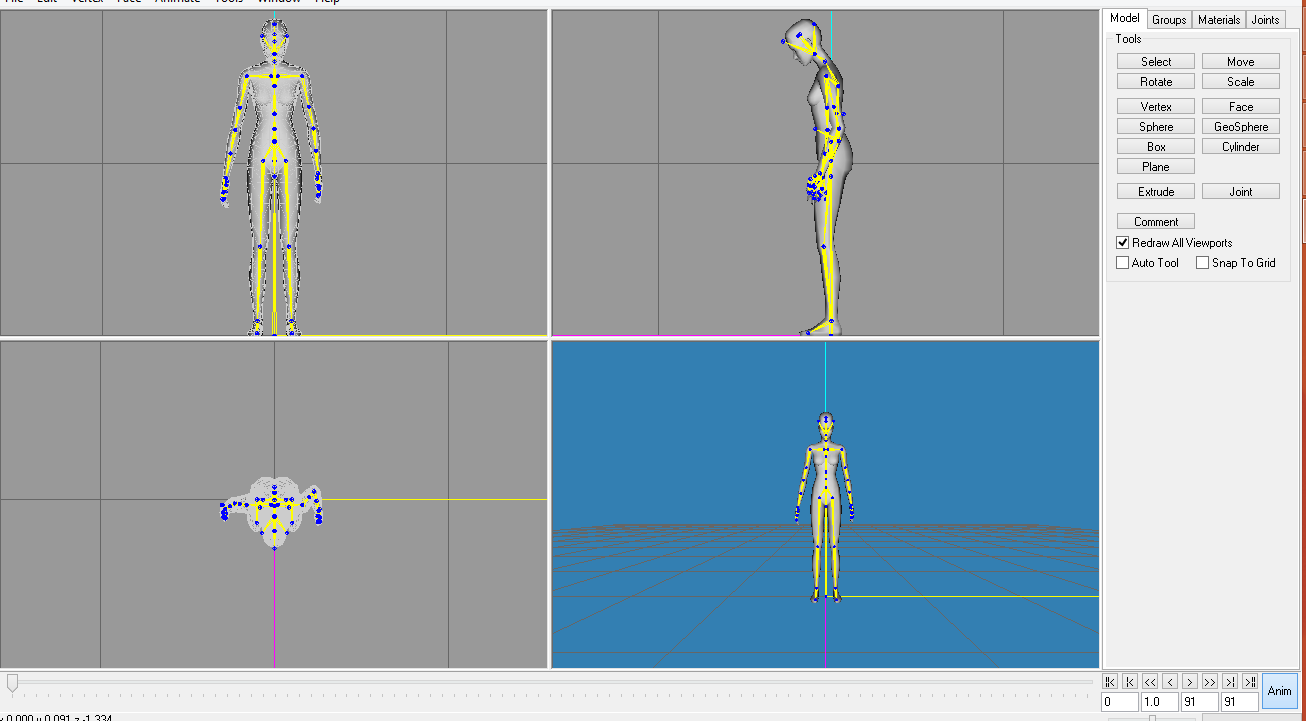
- Click Anim and move the slider to preview the animation.
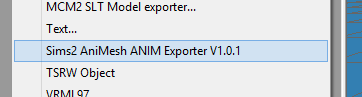
- Export the animation. Give it a unique name. In practice, the name format does not seem to matter, but it is better to name animations like
a_word1_word2. For example, I would save this asa_testanim_fall.5an.
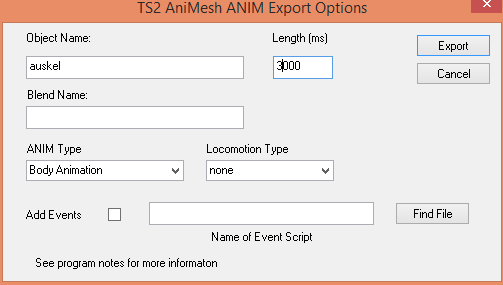
- In the Length field, enter the animation duration in milliseconds. One second is 1000 ms. To calculate the duration, divide the number of frames by the frame rate. I had 90 frames at 30 fps, so my animation is 3 seconds, or 3000 ms.
Note: after saving, you cannot open and edit the animation file itself. Keep the original working files.
- Open SimPE and create a new file. Drag the animation file into it.
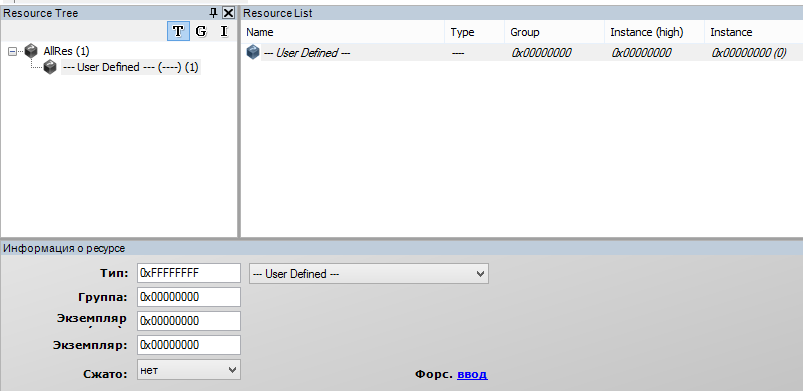
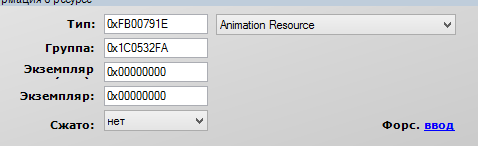
- Fill the Resource tab like this: Type is Animation Resource, Group is
0x1C0532FA. Press enter.
- Find the Resource Action window. It is to the right of the file list; if it is missing, click Reset Layout. Click Set TGI Values.
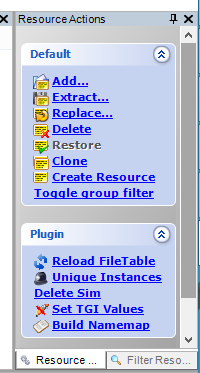
Note: this saves a huge amount of time, especially on a weak PC. To set TGI manually, the program needs to fully load the animation file, which takes a lot of time and resources. SimPE can even freeze. It also hates animations longer than 300 frames, which is 10 seconds. This function sets the values for all files at once.
-
Save the file as a package. It is recommended to mark the name with "Import".
-
Open the BaseBox file in SimPE. This is a template for a pose box where you only need to enter pose names. You can also add menu labels or choose a texture. The maximum number of animations the box can call is 21.
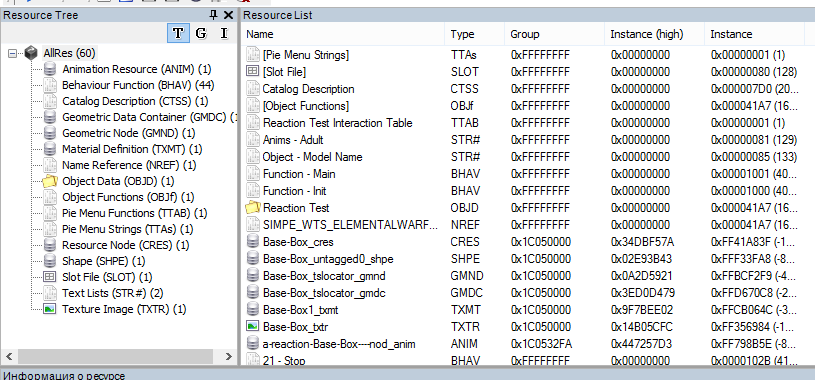
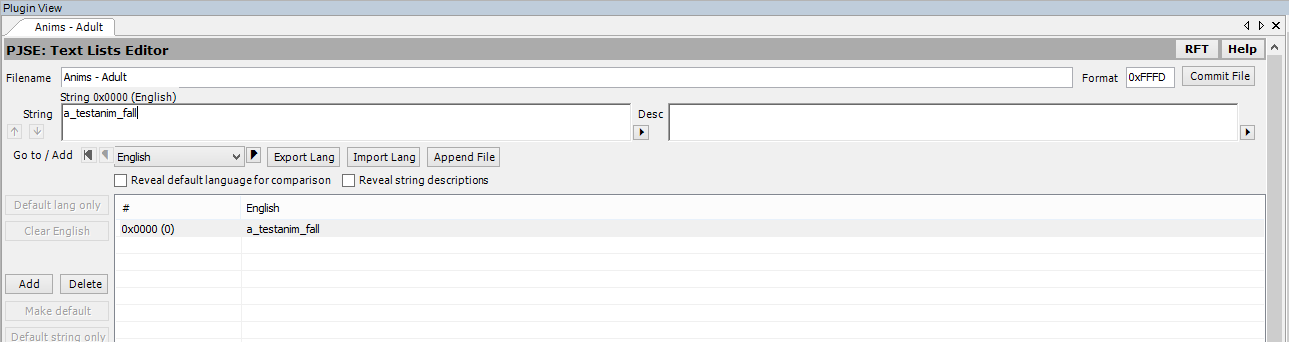
- Go to Text Lists and open Anims - Adult. In Plugin View, enter the name of the animation you created. If you have several animations, add them in order. Click Commit File.
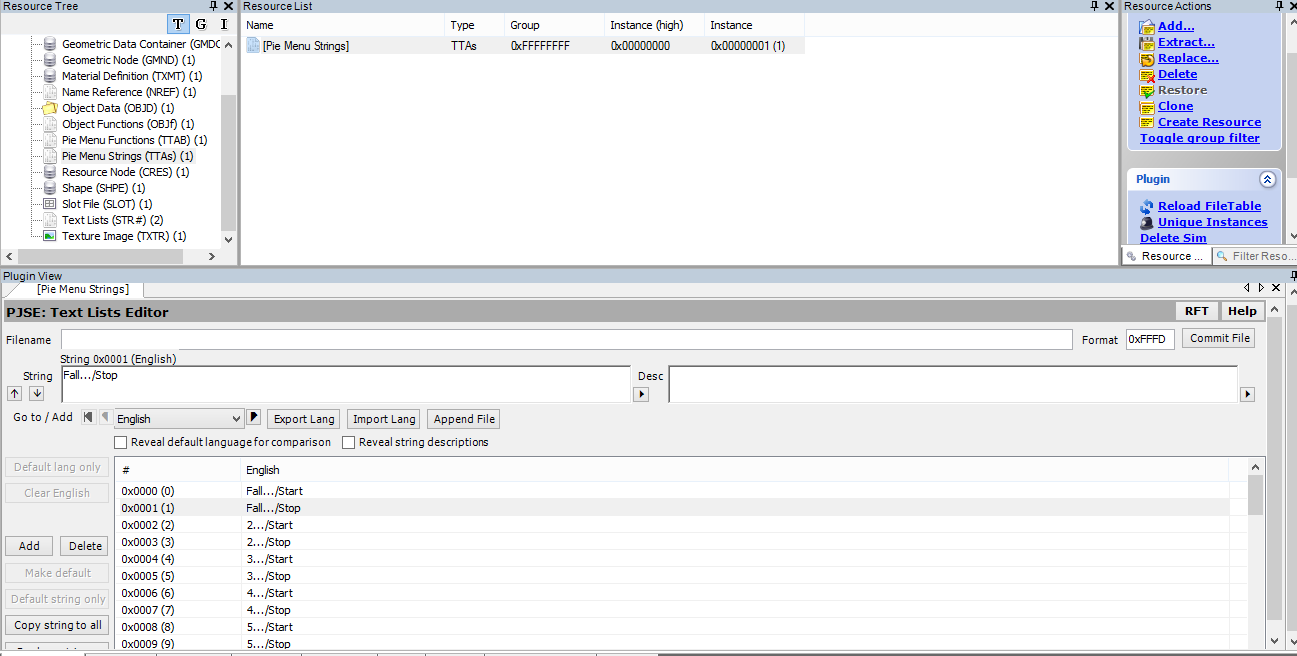
- For convenience, you can also change the animation description shown in the in-game action menu of the box. Go to Pie Menu Strings and change the labels as you like. Commit the file.
-
In Texture Image, you can change the box texture.
-
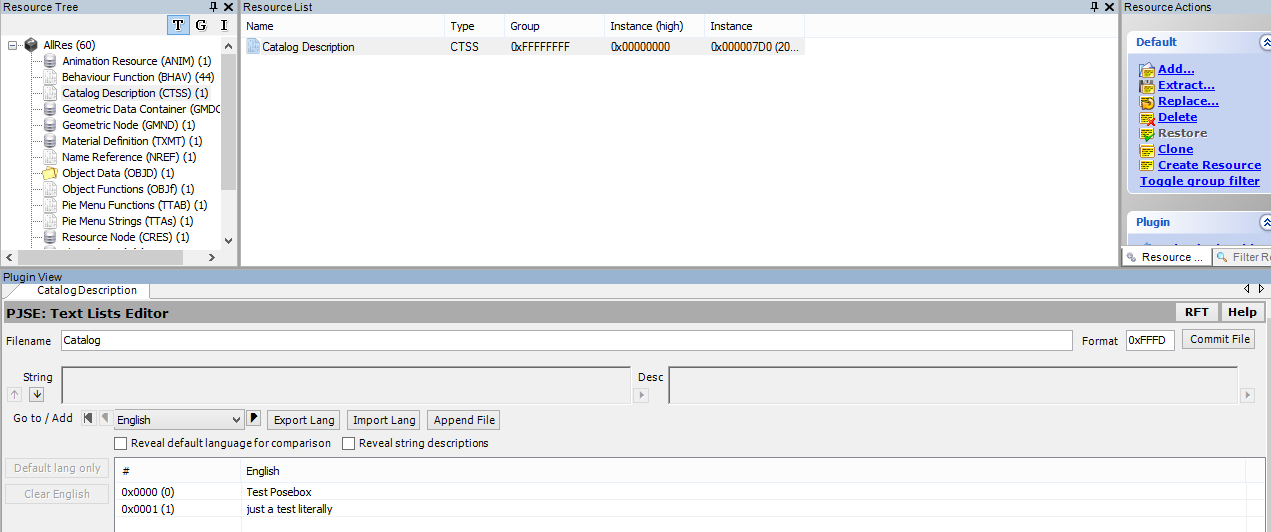
In Catalog Description, you can set the box name and description for Buy Mode.
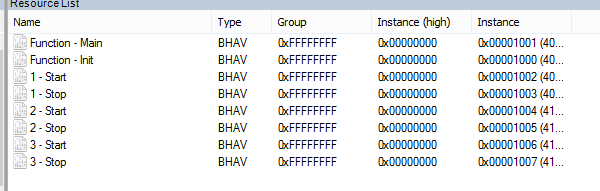
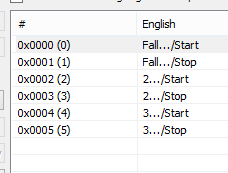
- Optionally, you can delete unused play functions if you want a smaller pose box. Go to Behavior Function and delete what you do not need. For example, I will leave room for 3 poses. Then you also need to delete the extra labels in Pie Menu Strings and remove the extra Pie Menu Functions.
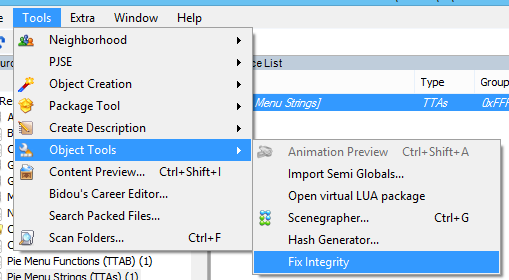
- Go to Tools -> Object Tools -> Fix Integrity.
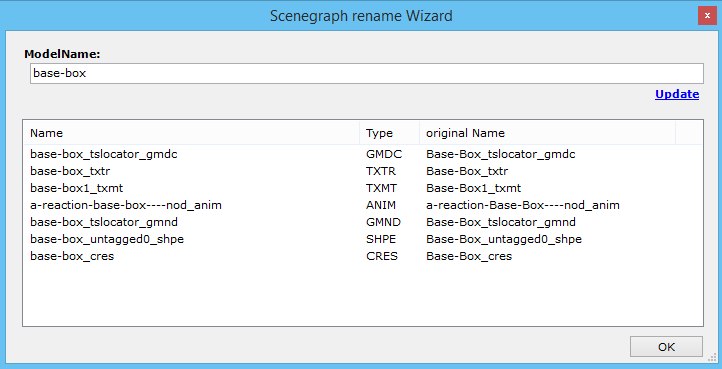
- In the ModelName field, enter a new in-game name for the box. This is important to avoid conflicts. Click Update and SimPE will update all names.
-
Save the file as a package marked Hack.
-
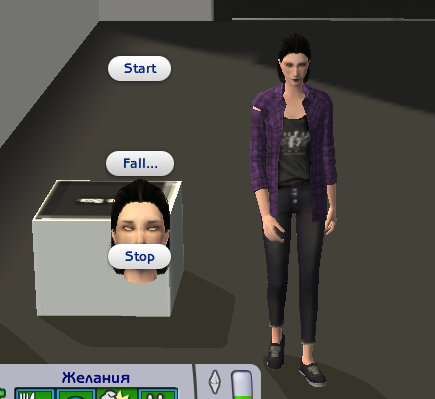
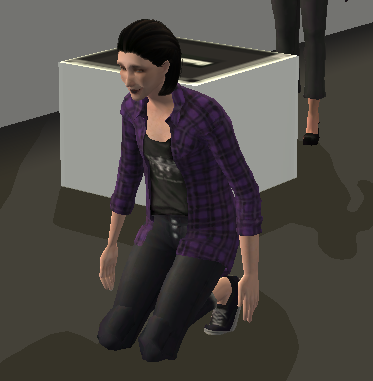
Put both files into The Sims 2/Downloads. You can test them in the game. The box can be bought under Hobbies -> Miscellaneous.
Notes:
- Animations in The Sims 2 work as overlays: they play over existing actions rather than fully replacing them. Because of this, they can break unexpectedly. Make sure the Sim is not getting random actions and keep the filming set as clean as possible. Turn off free will and watch needs.
- Facial animations can be added by making the character "rap" for speech or singing, or by using facial overlays from this box.
- Remember which animation is playing on the Sim, because it can only be stopped through the box. Try not to combine several animations at once, or you may get an unusual result.
Bonus: adding an object or accessory in Blender for animation reference. This works only in Blender 2.79.
Required: GMDC Import Export
For custom accessories
- Open the package with the accessory mesh in SimPE and go to Geometric Data Container.

-
Right-click the file and choose Extract. Save the file.
-
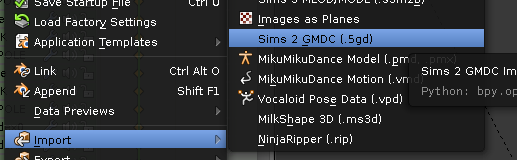
Go to Blender. The Sim rig must not be selected; you can click the camera in the Outliner. Import the file.
- The result will look like this. Delete
GuitarRemapped_tslocator_gmdc, the extra rig, and the extra mesh. Only the guitar should remain.
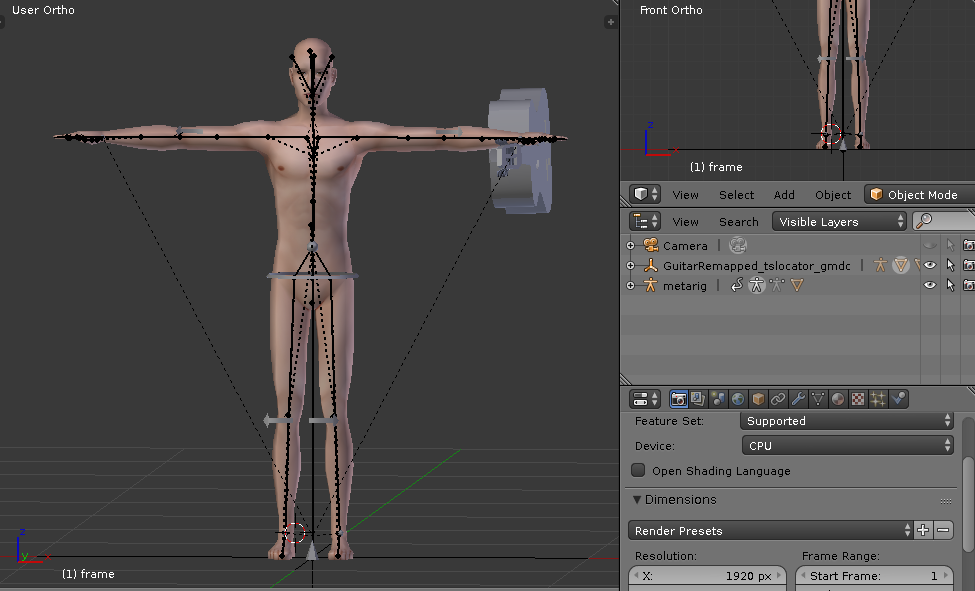
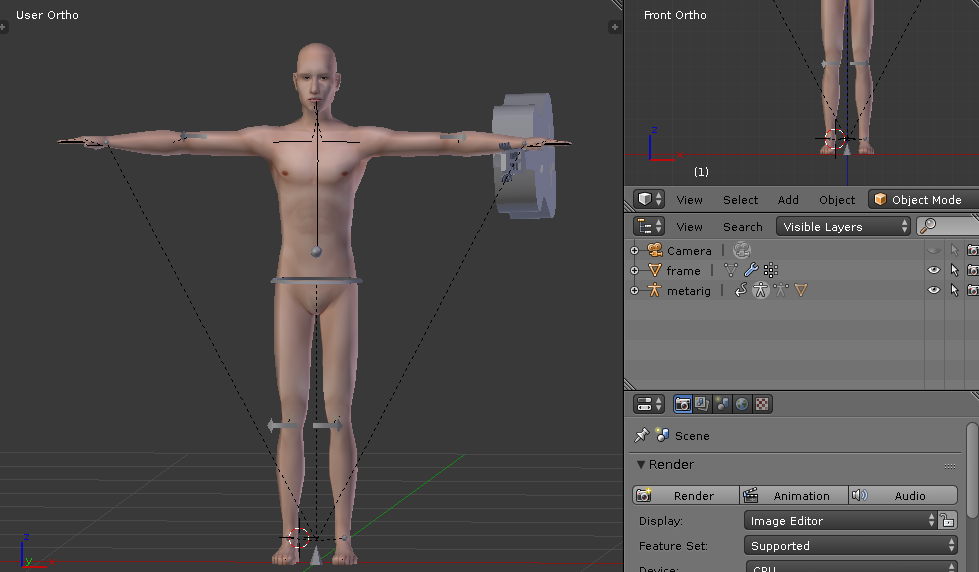
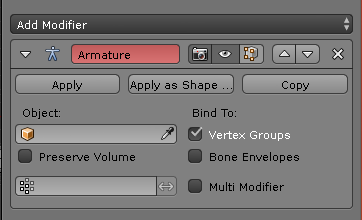
- Select the guitar mesh and open the modifiers tab. The armature will be missing there; choose your meta-rig in that field.
- Done. The guitar will now move with the Sim and can be used as a reference for creating a guitar-playing animation. In the game, the character will need to have the same guitar accessory.
For game objects
If the object is custom, simply extract and import the mesh file from the package.
- Create a new file in SimPE, click Object Workshop, and start cloning.
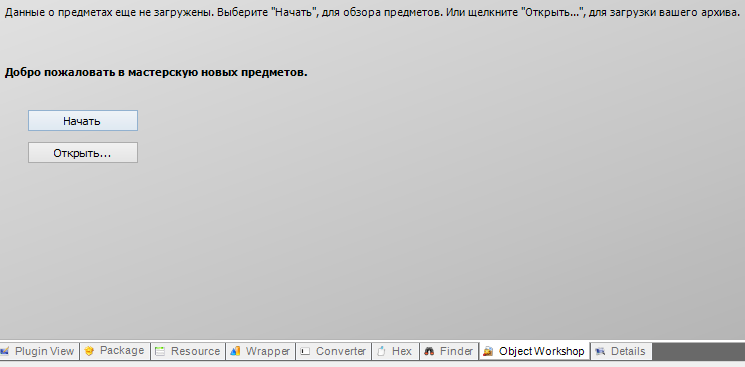
- After a while, the program will load all objects from the game. Find the one you need. For example, let us extract a statue.
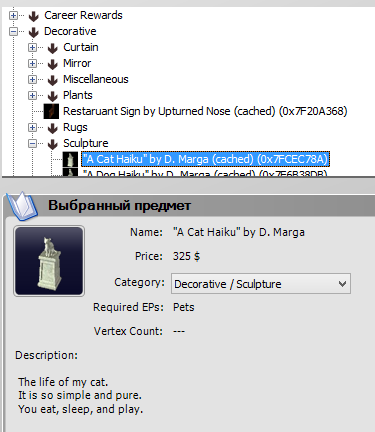
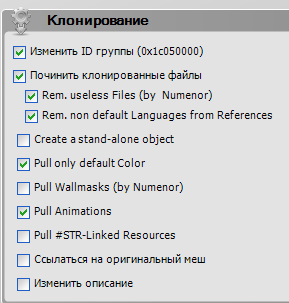
- On the next page, choose these settings:
-
Click Start, then Ok. Save the file.
-
Select the mesh file and extract it. Save it and import it into Blender the same way.
Guide author: Daisy